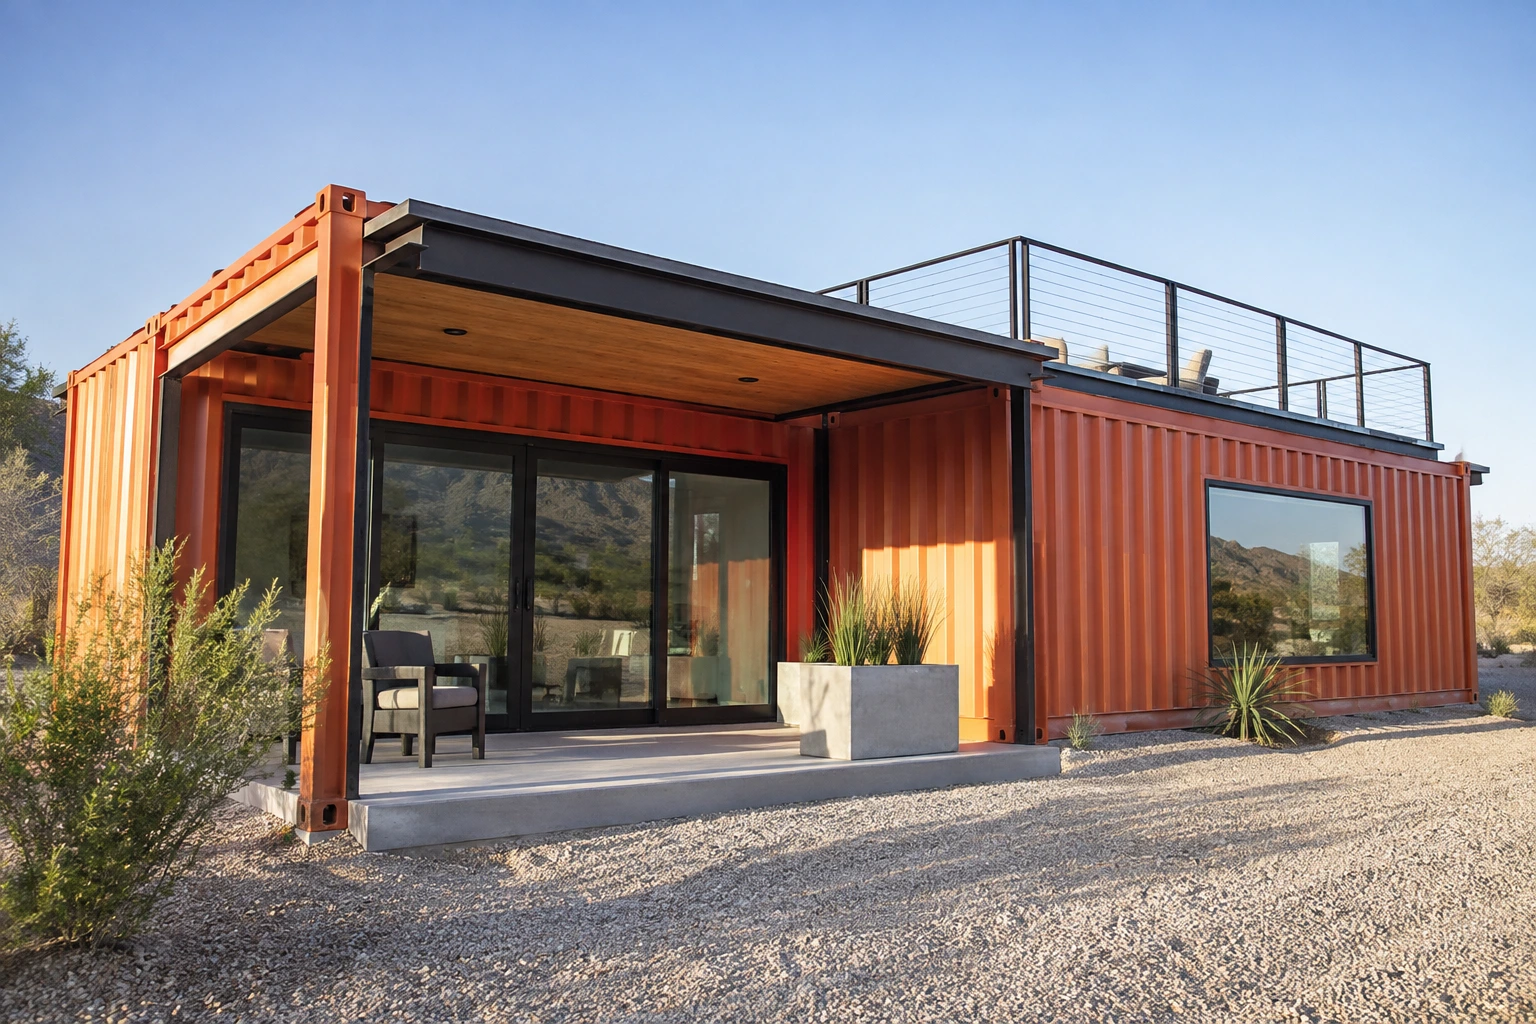
A shipping container home build involves plenty of decisions, and some of the easiest details to overlook can create the biggest headaches.
A window can fit its opening but have nowhere suitable for its fasteners. A sliding door can look sealed while still letting water inside. The wrong cutting equipment can turn an already demanding job into days of extra work.
In this walkthrough, we’re covering ten lessons from a container home build and how we would account for them during planning and installation.
1. Overlooking air leaks around roof penetrations
A roof penetration needs more than protection against rain.
In the source project, an exhaust fan was followed by a sewer smell inside the home. The builder traced it to a gap between a plumbing vent pipe and its roof boot that provided an air path into the interior.
The lesson is to coordinate the vent termination, flashing and air sealing as a complete assembly.
We follow the specified installation details rather than improvising a roof boot arrangement. If an exhaust fan brings odors into the home, we investigate both the source and the ventilation system instead of assuming the problem is only a water leak.
2. Assuming all container corrugations have the same depth
The sidewall and end wall in this project had different corrugation depths.
That difference affected how far the steel window frame projected beyond the wall. A frame that provided a useful exterior lip on one face barely extended beyond the corrugations on another.
We measure each opening location before fabricating its frame. Container dimensions alone don’t capture every detail of the surface we’re working with.
Checking the actual profile helps us plan the reinforcement, window position and weatherproofing together.
3. Choosing cutting equipment without considering the workload
An angle grinder can handle container steel, but the amount of cutting matters.
The source project involved approximately 230 linear feet of cuts. The builder reported spending about seven full days completing that work with an angle grinder and wished he had considered a plasma cutter.
We estimate the cutting scope before choosing equipment. For extensive modifications, renting suitable equipment or hiring a fabricator may be worth comparing with the labor and consumables required by our existing tools.
4. Designing around a perfectly smooth container shell
Containers have welds, joints and other details that may not appear in a simplified drawing.
In this build, welds along the wall edges interfered with the planned floor and roof-framing clearances. Removing them added substantial grinding work.
We inspect and measure those details before finalizing the design.
Where an obstruction affects framing, we discuss the clearance with the designer before construction. We don’t remove welds or change structural details simply to make a component fit.
5. Forgetting that components need room to be installed
A piece of framing can fit in its final position but still be difficult to move into place.
That happened with doubled roof members in this project. The container roof limited the movement needed to insert the second member into its hanger.
We review the installation sequence as well as the finished arrangement. That includes lifting space, tool access and the order in which connections are completed.
A trial assembly can reveal a clearance problem before we repeat it across the entire build.
6. Relying on a narrow bead of caulk beneath sliding doors
One sliding door in the project developed a leak where the installation depended on a small exposed sealant joint near its drainage openings.
The available sealing area was limited, and the builder reported that the caulk eventually cracked.
We plan the sill, flashing and drainage details before installing the door. The assembly needs to direct water outward while keeping the manufacturer’s weep openings clear.
Sealant plays a role, but it shouldn’t have to compensate for a missing drainage detail.
7. Leaving too much joint compound beneath drywall tape
Interior finishes can create extra work, too.
In this project, excess joint compound beneath the drywall tape produced raised areas that became especially visible under harsh lighting.
We use compound suited to the application and follow its mixing instructions. While bedding the tape, we remove excess material without leaving it inadequately bonded.
Testing a small area and checking it with light across the wall can help us catch uneven seams before painting.
8. Using coating tools that struggle with corrugated surfaces
A roller worked on flatter roof areas in the source project but made it difficult to coat the corners of the corrugations.
That slowed the application and required extra effort to reach recessed areas.
We choose the application method around both the coating instructions and the surface profile. Brushes, rollers or compatible spray equipment may serve different parts of the job.
The goal is consistent coverage at the specified thickness, including the areas that are harder to reach.
9. Welding near installed glass without suitable protection
Welding after installing the sliding doors led to damaged glass in this build. The builder reported that molten material struck one panel and it shattered.
We plan the sequence to complete nearby hot work before installing vulnerable finishes wherever practical.
When work must occur near installed components, we arrange appropriate protection and fire precautions. Improvised cardboard shielding is not suitable protection for welding.
Thinking ahead about glass, finishes and combustible materials can prevent expensive damage late in the project.
10. Forgetting where window fasteners will land
A window fitting inside the opening doesn’t mean it can be secured properly.
In the source project, the window jamb extended farther inward than expected. The planned fasteners missed the steel frame, requiring additional brackets.
We check the selected window’s dimensions and approved attachment method before fabricating the opening.
The frame needs to provide suitable fastening locations as well as the required structural and weatherproofing details. Reviewing the complete window assembly early helps avoid a retrofit after installation.
Plan the details before making permanent changes
These mistakes share a common lesson: small installation details deserve attention before cutting, welding and finishing begin.
We measure the actual container, coordinate the selected products with the design and work through the construction sequence. That gives us a better chance of catching problems while they’re still straightforward to resolve.
At Quality Containers, we help customers explore container options and modification needs. Contact our team to discuss your project and the container specifications your plans require.
Adapted into a first-person guide from “Top 10 Mistakes I Made While Building My Container Home!.”