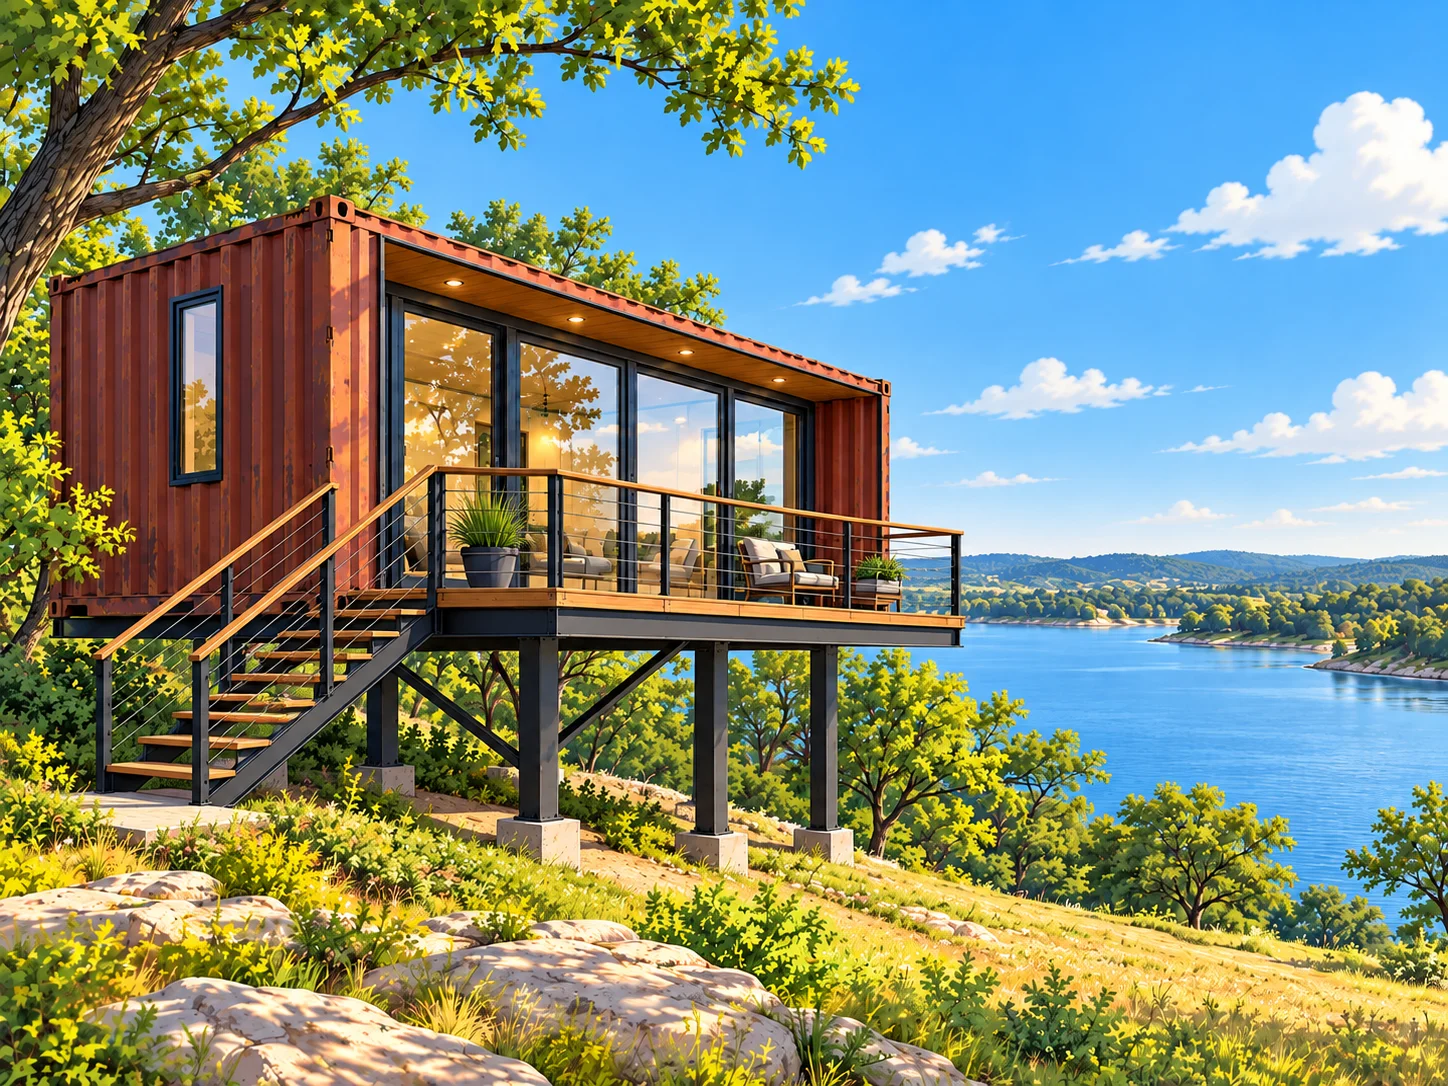
A shipping container cabin overlooking a lake sounds like a pretty good escape. Raise it above the ground, add a deck and frame the view with windows, and a simple steel box starts to feel like a retreat.
In this project, Matt Crockett transforms a used container into an elevated cabin on a five-acre property in North Texas. The build combines salvaged materials, work completed near home and finishing touches added after delivery.
Here are nine ideas and lessons from the project that we can use when planning a container cabin.
1. Establish access before starting the build
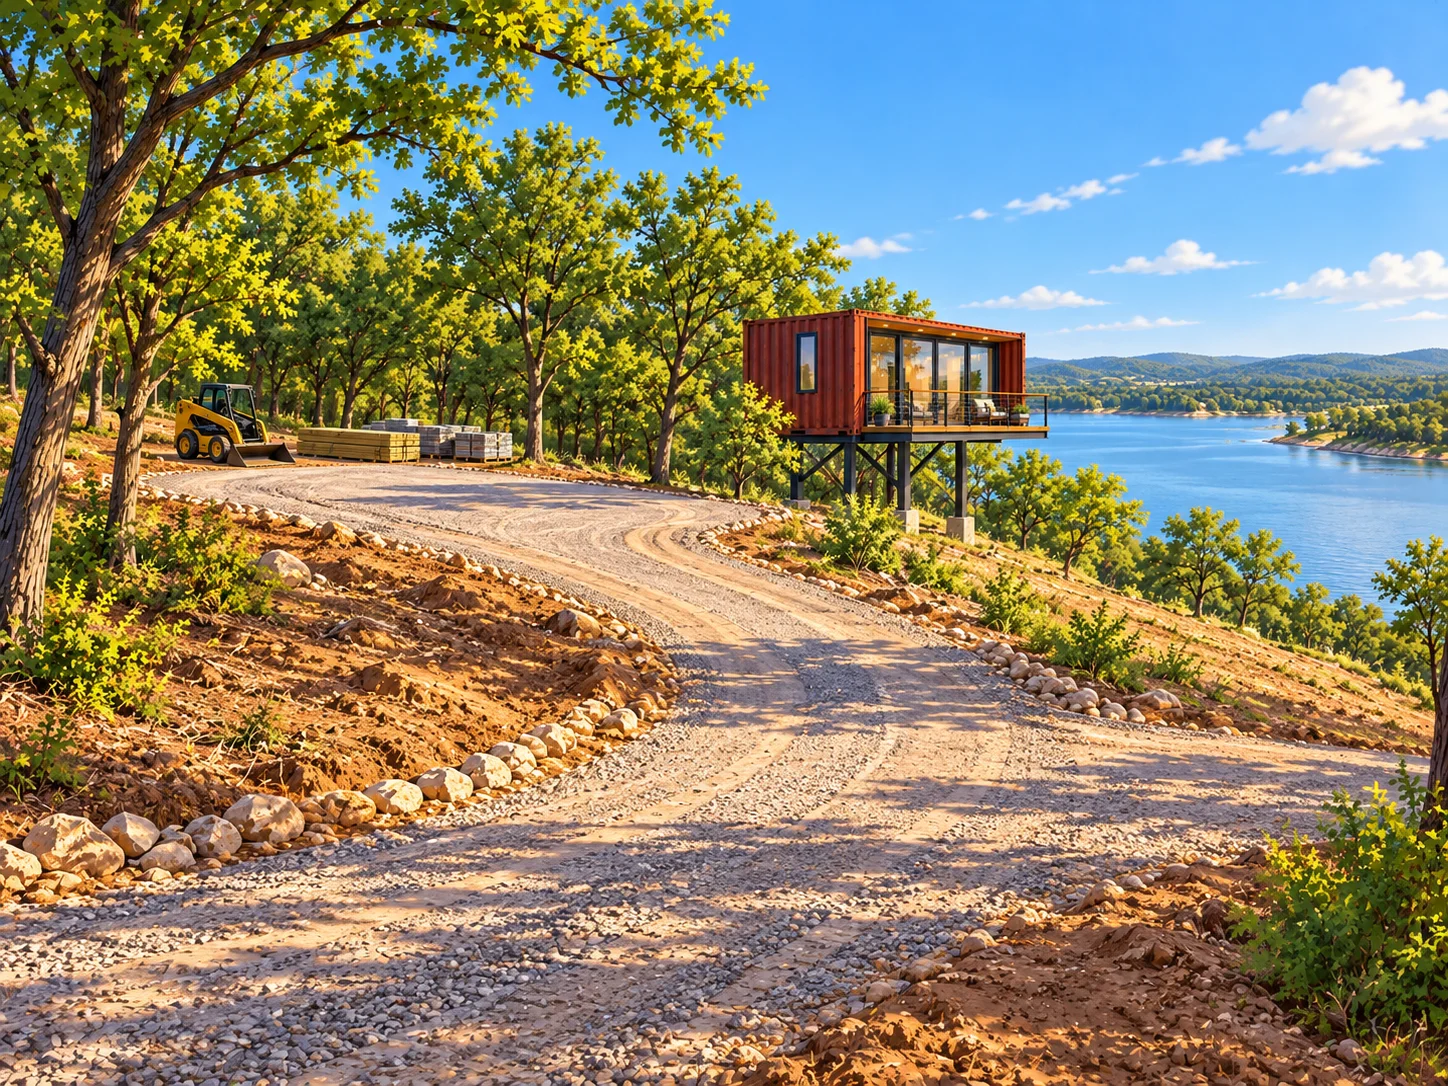
The project begins with walking the property, collecting trash and uncovering an existing road leading toward the lake.
Clearing that route makes it possible to reach the planned cabin site from the county road.
We start with access because the container isn’t the only thing that needs to reach the destination. Construction equipment, materials and lifting equipment need a workable route, too.
Before choosing the final cabin position, we review road conditions, turning space and the area needed for placement.
2. Plan the elevated structure around the site
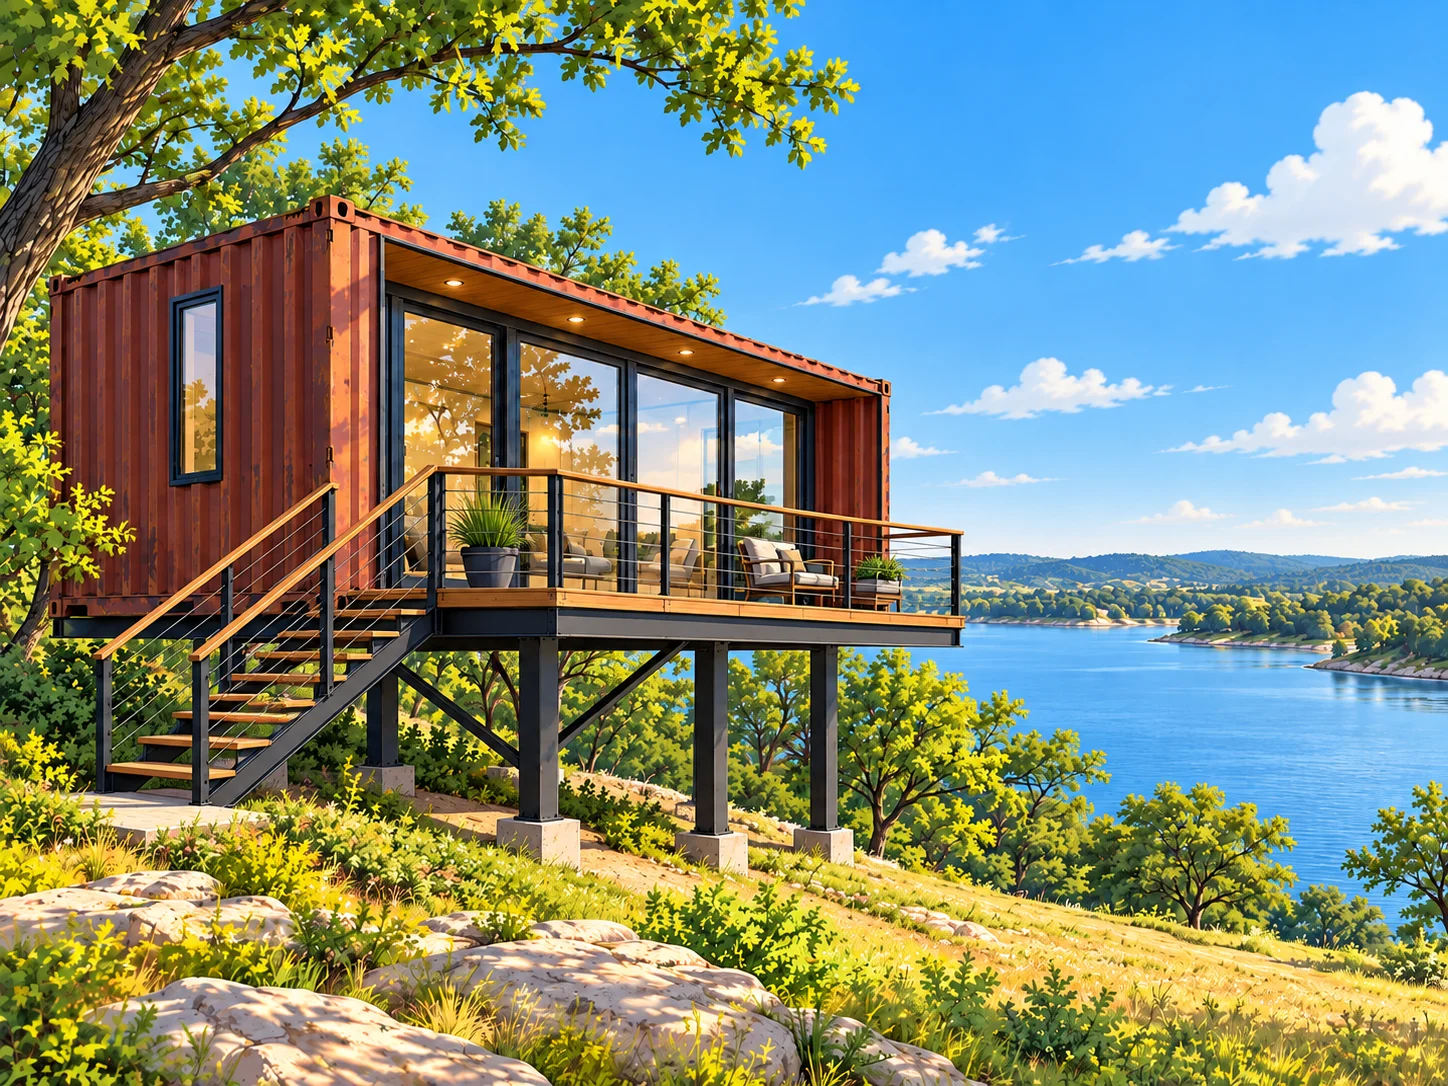
The cabin sits approximately eight feet above the ground. The builder explains that the property occasionally floods and that he also liked the appearance of a taller structure.
Elevation becomes a defining feature of the cabin, opening up the view and leaving space beneath it.
For our own build, we determine foundation height and design from the site conditions and structural requirements. A height chosen for its appearance doesn’t establish flood protection.
We also confirm shoreline, floodplain and building requirements before treating a lakeside location as ready for construction.
3. Design the deck for how we’ll use it
The project includes a deck approximately four feet deep. Looking back, the builder says five feet might have been more useful.
That’s a small difference on paper, but it can affect room for chairs, circulation and the entrance.
We lay out the furniture and walking space before fixing the deck dimensions. That helps us decide whether the deck is mainly an access platform or somewhere we want to spend an afternoon.
An elevated deck also needs suitable guards, stairs, handrails and connections. The unguarded deck shown in the video isn’t a detail we would carry into our plan.
4. Complete some work near home
A practical part of this project is converting the container near the builder’s house before transporting it to the lake.
That lets him work around his job and family without traveling to the remote property for every task.
We can use the same approach when a suitable work location is available. It gives us easier access to tools and supplies while the site preparation progresses elsewhere.
Before starting, we confirm that the temporary work location accommodates the container and that the modified structure remains suitable for transport.
5. Use salvaged materials selectively
The builder uses salvaged doors, windows and furniture to keep spending down and give the cabin a reused-material character.
We can look for similar opportunities, but we assess each item before designing around it.
A window needs more than clean glass. Its condition, dimensions, operation and suitability for the intended installation all matter. The same applies to doors and furnishings.
We identify usable pieces early so the layout and openings match the actual components we plan to install.
6. Coordinate openings before cutting
Positioning the doors and windows helps establish how the interior will relate to the lake.
In this build, the opening locations are marked using the frames as references. The broader lesson is to work from measured components rather than an approximate idea of their size.
We coordinate the cutouts, reinforcement, fastening and weatherproofing before removing steel.
A frame fitting into an opening is only part of the installation. It also needs suitable connections and details that manage water around the finished assembly.
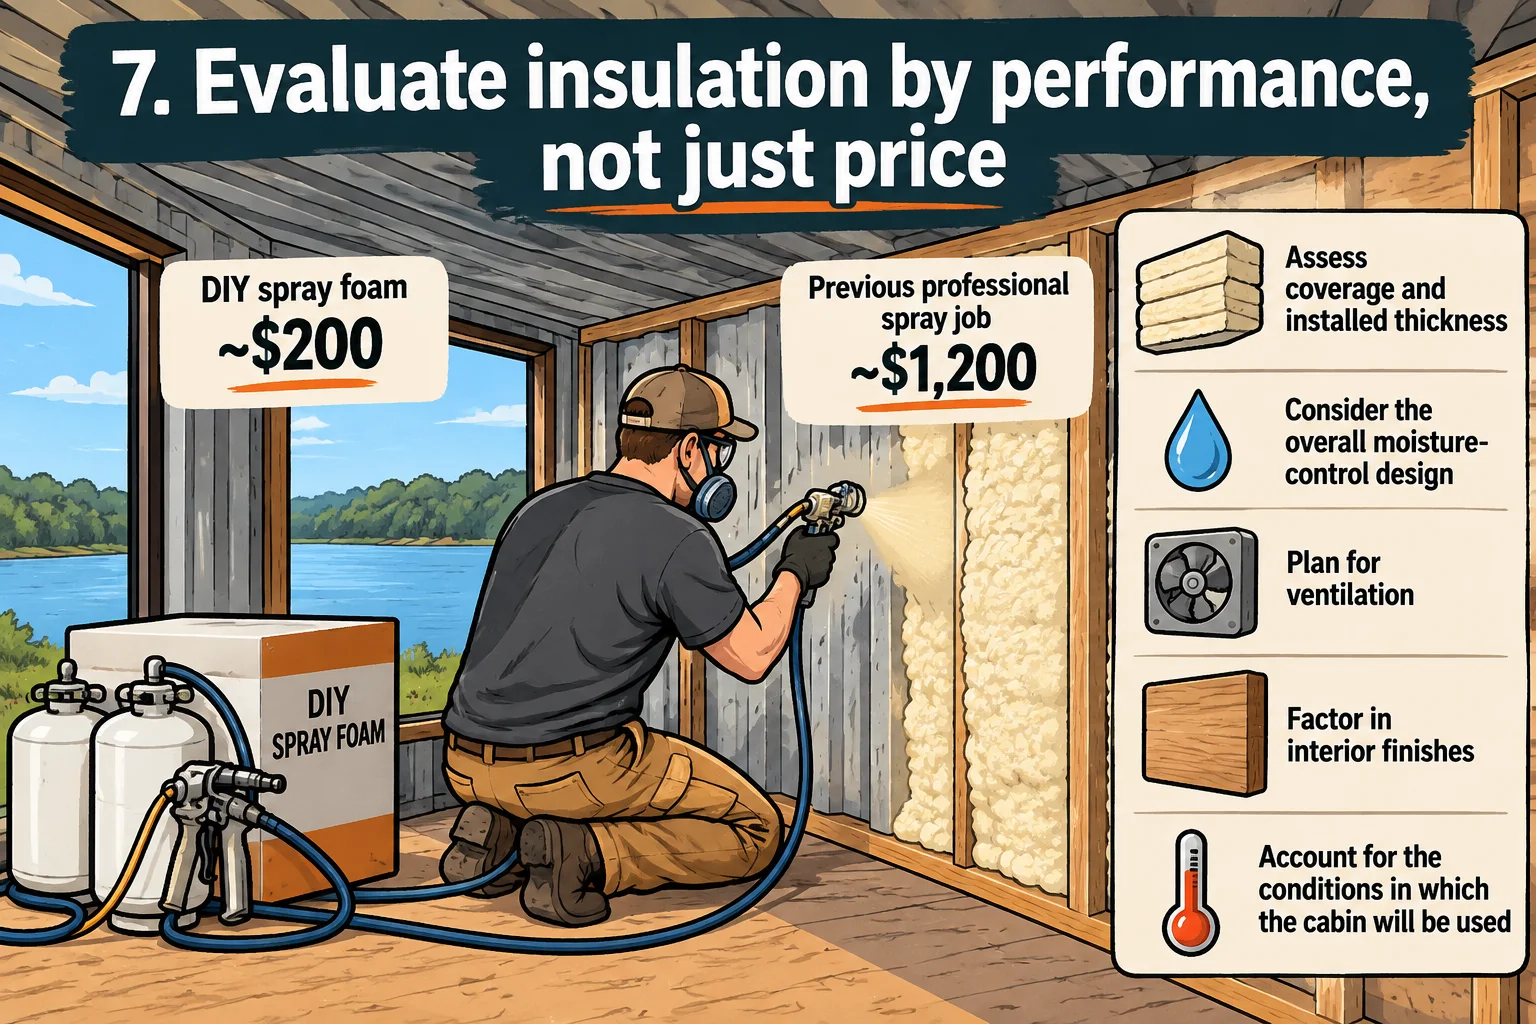
7. Evaluate insulation by performance, not just price
The builder reports trying a DIY spray foam product and spending approximately $200, compared with roughly $1,200 he had previously paid for spraying other containers.
Those are his reported expenses, rather than a like-for-like comparison of complete insulation systems.
We assess coverage, installed thickness, product requirements and the overall moisture-control design before deciding whether a lower material price represents a saving.
The insulation plan also needs to account for ventilation, interior finishes and the conditions in which the cabin will be used.
 8. Coordinate transport weight and final finishes
The builder leaves the interior flooring and wall finishes until after placement to reduce the amount of installed material being moved.
That’s a useful scheduling decision to consider. We decide which tasks are easier near home and which can wait until the container reaches its destination.
The video also describes flooring boxes left inside during lifting, making one end unexpectedly heavier.
We inventory and secure everything inside before transport, establish the actual load and use a qualified transport and lifting team with suitable equipment. Weight distribution belongs in the placement plan, rather than being discovered mid-lift.
9. Resolve the utility route before moving in
The cabin is roughly 1,000 feet from the road, while the available electrical service stops much closer to the entrance.
The builder describes using a very long extension cord as a temporary arrangement. For our project, we would plan an appropriate electrical supply with the utility provider and a qualified electrician.
Distance affects the design of the service route and the work needed to reach the cabin.
We resolve power, water and wastewater arrangements early so the scenic location doesn’t leave us with an unfinished utility plan.
Plan your own container retreat
This lakefront build shows how a used container, thoughtful placement and selected salvaged materials can come together as a distinctive cabin.
The most useful ideas are the planning decisions: establish access, work where it’s convenient, design around actual components and coordinate transport with the finishing sequence.
At Quality Containers, we help customers explore container options and modification needs. Contact our team to discuss the container size and setup that fit your cabin plans.
Adapted from Matt Crockett’s “Elevated Lakefront Shipping Container Cabin. Full Solo Build.” This article highlights project ideas rather than reproducing its improvised lifting, electrical or elevated-work methods.