Building a shipping container home involves several kinds of work, from cutting and modifying steel to installing framing, siding and interior finishes. Having the right tools makes each stage easier, but we don’t need to buy an entire workshop before getting started.
We start with versatile tools that handle everyday tasks, then add specialized equipment based on the modifications we’re planning. A drill and angle grinder will get plenty of use, while equipment like a plasma cutter becomes more valuable when there’s a lot of steel cutting ahead.
Here’s how we would put together a practical tool kit for a shipping container build.
A drill and impact driver
A drill is one of the first tools we need. We use it to make pilot holes, prepare fastening points and install screws throughout the project.
One drill can handle both drilling and driving, but adding an impact driver makes repeated installation work more convenient.
We keep a drill bit in one tool and a driver bit in the other. That lets us move from drilling a hole to installing a fastener without constantly switching bits.
The accessories matter, too. We need drill bits suited to the material and driver bits that fit our fasteners correctly.
Measuring and marking tools
A tape measure, pencil and marker stay within reach throughout the build.
We use the pencil for wood layout and the marker for visible lines on steel. Clear measurements and marks help us position framing, lay out openings and prepare materials before cutting.
A speed square helps mark square cuts and common angles. A larger framing square gives us a longer reference when checking corners or laying out walls.
For longer layout lines, we use a chalk line or string line. These simple tools help establish consistent reference points across the project.
Levels and a laser level
We use levels to check framing, windows, doors and other installed components.
A laser level adds convenience when we need the same reference across several locations. Instead of moving a conventional level repeatedly, we can project a line across the work area and measure from it.
That can be useful when establishing window heights, aligning framing or laying out finishes.
A laser level is an upgrade to the basic kit. The right model depends on the working distance, lighting conditions and tasks we need it to handle.
An angle grinder for steel work
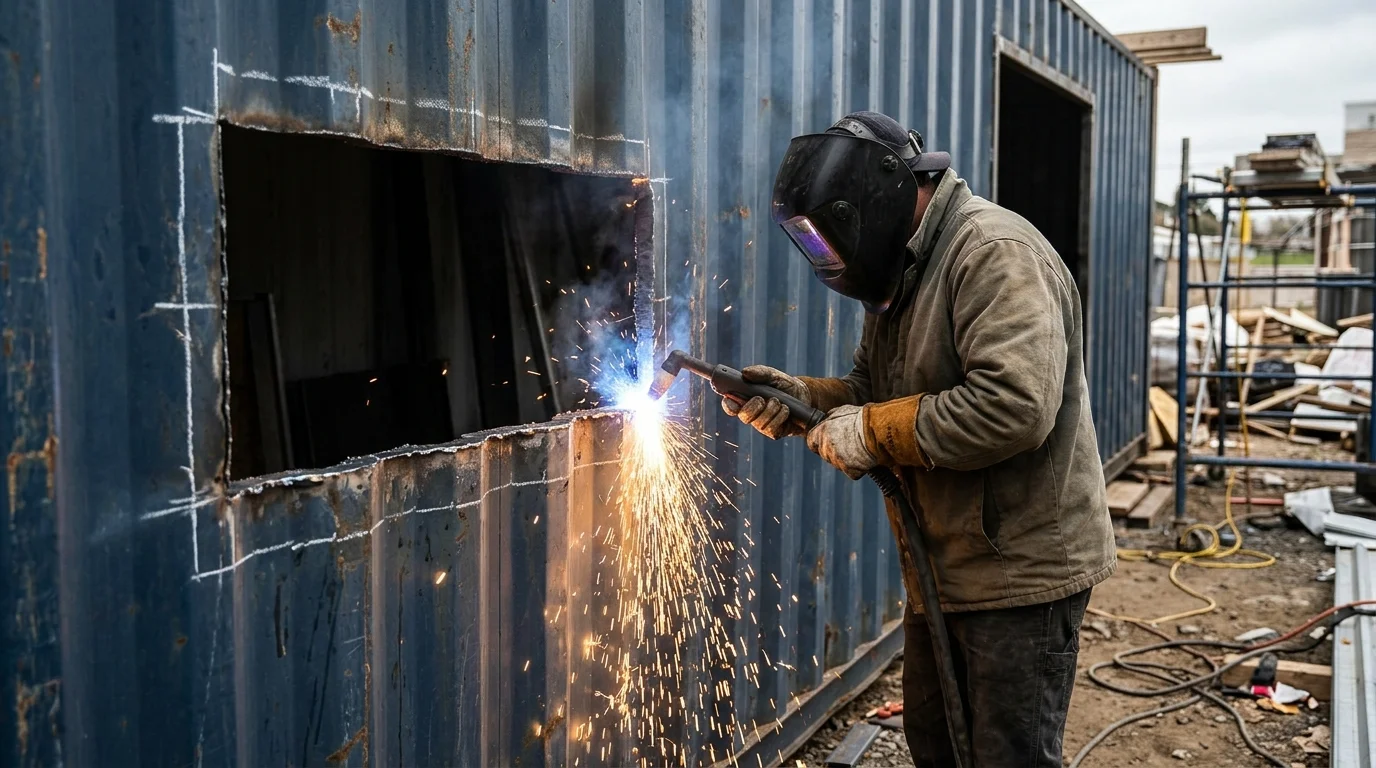
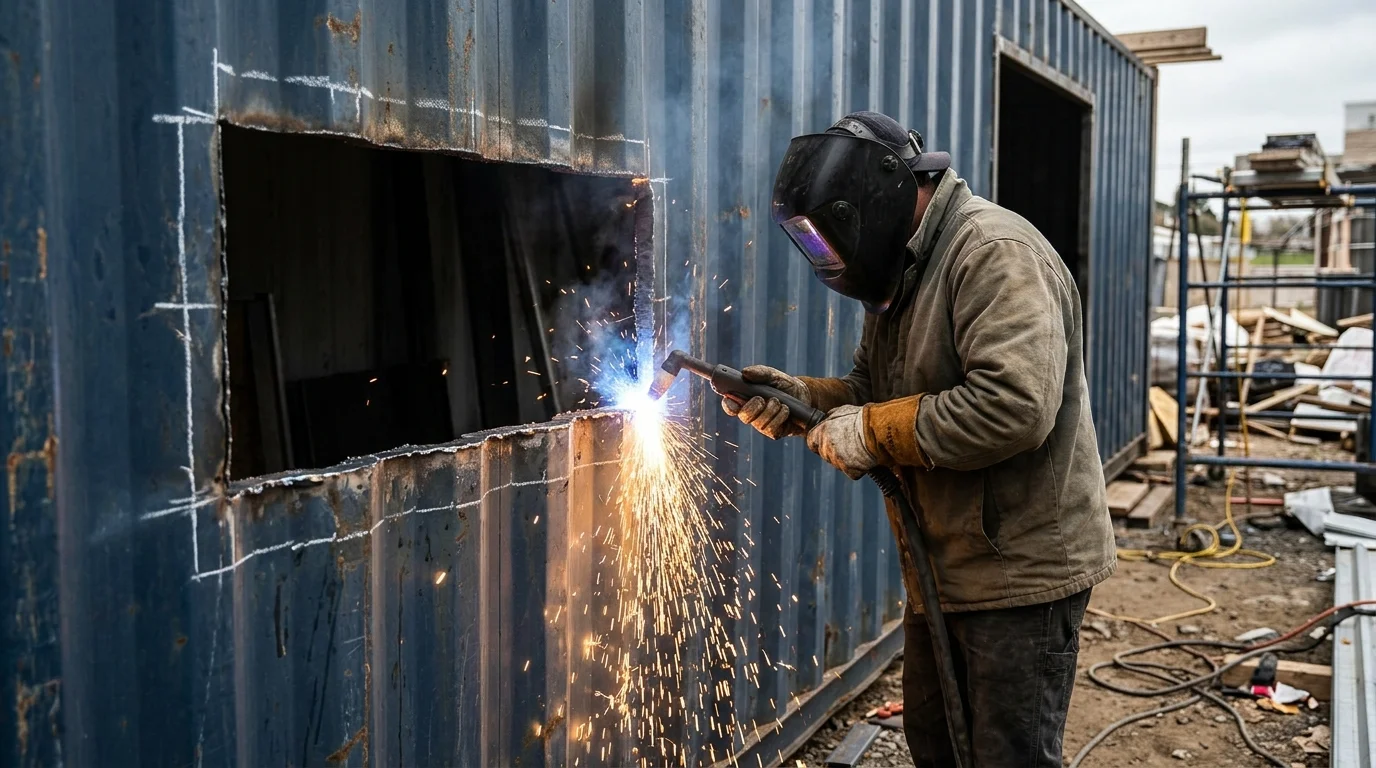
An angle grinder is one of the most useful tools for modifying a shipping container.
With the appropriate wheel, we can cut steel, clean up edges, smooth welds and prepare surfaces. It remains useful even when we have other cutting equipment available.
We keep the guard installed and match the wheel to the tool’s speed rating and intended operation. Cutting wheels, grinding wheels and surface-preparation attachments serve different purposes.
Consumables belong in the budget. Cutting through container steel can use up wheels, and having replacements available keeps the work moving.
Before cutting window or door openings, we need the opening layout and reinforcement details established.
A welder for fabrication and connections
A welder expands the metalwork we can handle during a container project.
We can fabricate brackets, assemble steel components and make connections specified in the modification design. It’s particularly useful when the project includes steel frames around openings or other custom assemblies.
Choosing a welder starts with the material thickness, welding process, available power and amount of work involved. The least expensive machine may not have the capacity or duty cycle the project requires.
We also need suitable protective equipment and a work area prepared for welding. Structural welds require the appropriate design, skill and verification, so buying a machine alone doesn’t prepare us to make every connection.
If welding is a limited part of the project, hiring a fabricator may make more sense than purchasing the full setup.
A plasma cutter for extensive metal cutting
An angle grinder can handle many cuts, but a plasma cutter becomes useful when we’re removing larger sections of steel or making numerous openings.
It can speed up cutting and offers flexibility for shapes that are difficult to produce with a straight cutting wheel.
We still expect to clean and prepare the edges afterward. A plasma cutter also has its own operating requirements, including the appropriate electrical supply and, depending on the system, compressed air.
For a single build, we would weigh the purchase or rental cost against the amount of cutting planned. It’s a useful upgrade rather than an automatic requirement for every project.
 Combination drill-and-tap bits
Some metal connections need threaded holes rather than a screw driven directly through the material.
Combination drill-and-tap bits can drill a hole and form threads with one tool, reducing tool changes compared with separate drilling and tapping operations.
These are different from self-drilling screws. The bit creates threads for a compatible fastener.
We match the bit to the required thread size, material and thickness, and follow its operating instructions. The fastening design determines whether a tapped connection is appropriate.
Metal snips for light-gauge framing
If we’re using light-gauge steel studs and track for interior framing, metal snips are useful for trimming compatible components.
They let us make many small cuts without setting up a power saw each time.
For a wood-framed interior, they may see less use. Our framing choice determines how essential they are to the tool kit.
Interior partition framing and structural framing have different requirements, so we select the material and tools around the specified system.
A circular saw for lumber and sheet materials
A circular saw handles much of the wood cutting during a container build.
We use it for lumber, plywood and compatible siding materials. Changing to the appropriate blade lets the saw serve several stages of the project.
The blade and cutting method need to match the material. For products such as fiber-cement siding, we follow the manufacturer’s cutting and dust-control instructions.
A circular saw is a practical starting point when we want a compact kit with broad usefulness.
Wet abrasive blasting equipment for rust removal
When we’re working with rusty steel, surface preparation can take a considerable amount of time.
A wet abrasive blasting setup can help remove corrosion and old coatings from suitable steel surfaces. Some systems use a pressure washer attachment to deliver water and abrasive media together.
This equipment is worth considering when there’s extensive surface preparation to complete. For smaller areas, an angle grinder with an appropriate attachment may be sufficient.
Wet blasting is messy, and the setup needs to account for the abrasive, removed coating and wastewater. We also need a plan for drying and protecting the exposed steel afterward.
Removing rust improves the surface, but it doesn’t restore metal thickness lost to corrosion. Heavily deteriorated components still need assessment before reuse.
A caulk gun for sealants and adhesives
A caulk gun gets used throughout installation and finishing.
We use it for compatible sealants around joints and penetrations, along with cartridge-based adhesives where specified.
A basic manual model can handle many tasks. A smoother mechanism makes longer applications easier to control.
The sealant needs to suit the materials and exposure conditions. We treat it as part of the weatherproofing assembly, alongside the required flashing and joint details.
Ladders and work access
We need access equipment that suits both interior and exterior work.
A multiposition ladder can cover several manufacturer-approved configurations, making it useful when we’re starting with one ladder. Its weight can make frequent moves cumbersome, though.
A smaller stepladder is convenient for routine interior work and gives a second person their own access equipment.
For longer tasks or work requiring a larger platform, scaffolding or another access system may be more practical.
Budget for the complete setup
The tool purchase is only part of the cost.
We also need blades, drill bits, cutting wheels, welding consumables, batteries and chargers. Clamps and work supports help hold materials securely during cutting and assembly.
Protective equipment belongs in the same budget, including eye and hearing protection and task-appropriate respiratory protection.
Electrical, plumbing and other specialized stages will require additional tools and skills beyond this list.
Choose tools around the work you’re doing
We build the tool kit around the project scope.
For interior framing and finishes, we prioritize layout tools, a drill, an impact driver, snips or a circular saw, and suitable access equipment. For extensive steel modifications, welding and cutting equipment become a larger part of the plan.
Buying tools we’ll use repeatedly and renting equipment for occasional tasks can help keep the budget manageable.
At Quality Containers, we help customers explore shipping containers and modification options for their projects. Contact our team to discuss the container you need and the build you have in mind.
Adapted from Containing Luxury’s “Must Have Tools for your Container Home Build” and Pacific Pines Ranch’s “5 Must Have Tools to Build a Container House.”
Before you cut or weld steel, review OSHA's guidance on welding, cutting and brazing and its personal protective equipment recommendations.