Editor’s note: This article was adapted from Ben’s YouTube video, “Building a Shipping Container Home | EP01 Permits and Foundation Design”. The story is told from Ben’s first-person perspective. All credit for the original project, experience, and video belongs to Ben.
I had been interested in shipping container architecture for years, but when I started researching how to build one myself, I ran into a problem: there was very little practical information about permits, costs, and the actual construction process.
So when I finally built my own shipping container home, I documented everything. In this first part of the project, I’ll walk through how I selected the containers, prepared the site, worked through the permitting process, and poured the concrete foundations.
Buying land and choosing the containers
In the spring of 2018, I bought 10 acres in Joshua Tree, California. The property was roughly square, measuring about 650 feet by 650 feet, with a small mountain near the center.
While I waited for the surveyor to complete the site drawings, I ordered the shipping containers.
Many people assume shipping containers are extremely cheap, but permitted residential construction comes with additional requirements. In California, I needed one-trip containers. These containers had only made a single cargo trip, which meant I could document what had been stored inside them and reduce concerns about possible exposure to toxic or radioactive materials.
I also chose high-cube containers instead of standard ones. A high-cube container is one foot taller, which gave me more room for insulation, electrical wiring, and the fire-suppression sprinkler system required for the project.
My original plan was simple: use one 40-foot container to create a tiny house. Then I decided it would be useful to have a separate guest bedroom and bathroom. When I spoke with the local building department, I also learned that homes in the area had to contain at least 700 square feet. That requirement led me to add a third container, which I planned to use as a home office and workshop.
The final design grew from one small container home into a three-container project.
Preparing the building site
Before receiving the building permit, I was allowed to move up to 50 cubic yards of soil. I used that opportunity to begin leveling the area where the house would sit.
I rented a bulldozer and hired an operator to flatten the site. The work took only two days, but it saved an enormous amount of time and physical labor.
Once the site was level, we began digging the forms for the monolithic concrete slabs that would support the containers. We initially tried using hand tools, but the ground contained so much rock that progress was painfully slow. There were not only loose rocks throughout the soil, but entire veins of stone running through it.
We eventually let the machine handle the heavy excavation and used hand tools afterward to clean and refine the trenches.
Building the slab forms and rebar cages
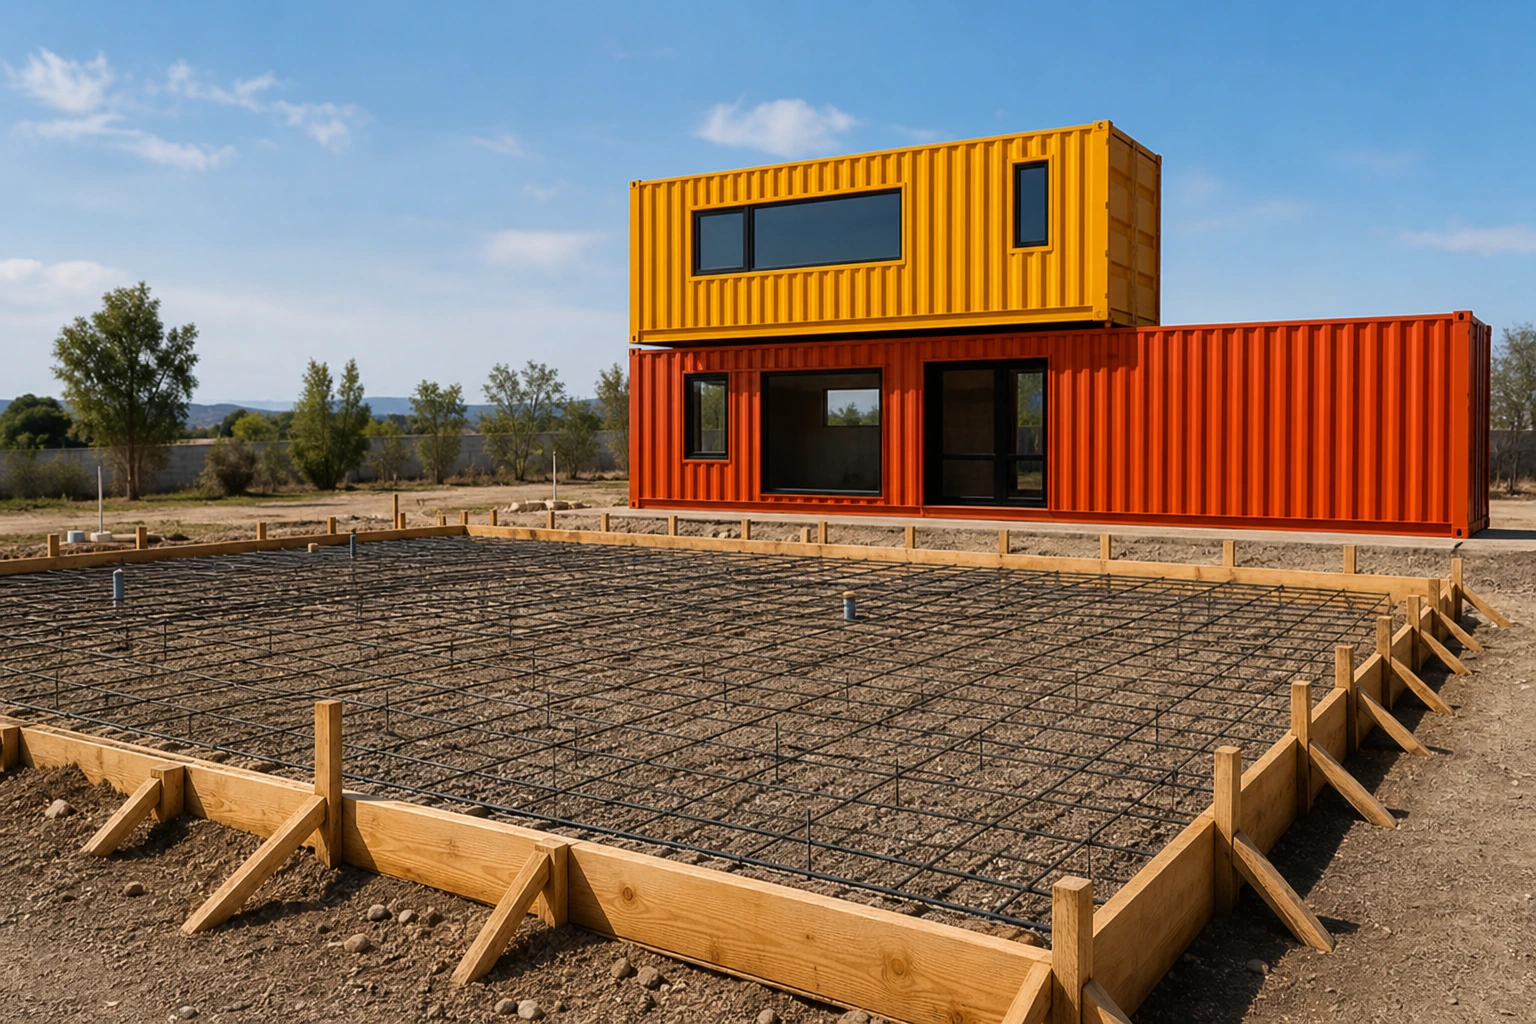
We used dimensional lumber to define the perimeter of each slab and drove stakes into the ground to hold the form boards in place. The wooden stakes kept breaking in the rocky soil, so we switched to steel stakes with predrilled screw holes. Those worked much better.
Next, we had 20-foot lengths of rebar delivered to the site and began assembling the reinforcement specified by the structural engineer. The engineering drawings identified the required rebar sizes and layout, so our job was to follow the plans and wire everything together.
I focused on cutting the shorter vertical sections while the rest of the crew tied the pieces together. The individual steps were not especially complicated, but organization mattered. As the work progressed, the rebar became one large, heavy steel cage.
We then rolled out a 10-mil moisture barrier and covered it with clean sand. To keep the rebar from resting at the bottom of the forms, we placed it on small concrete spacers called dobies. These blocks have wires embedded in them, allowing the rebar to be secured at the correct height inside the slab.
Doing this work in 100-degree weather was exhausting, but it gave me a new appreciation for everything hidden inside what eventually looks like a simple piece of concrete.
Changing the plumbing plan
Our original plan called for embedding the plumbing drain lines inside the concrete slabs. Once we laid everything out, however, it became clear that positioning the pipes accurately around the rebar would be difficult.
The containers would eventually have to land in very precise locations. If our embedded plumbing was even slightly off, it might not align with the fixtures inside the containers.
Instead of taking that risk, we simplified the design. We only ran the final main drain through the slab and planned to install the remaining plumbing within the container floors. That adjustment gave us more flexibility when the containers were placed.
At that stage, we had gone as far as we legally could without the final permit. We could prepare the site and forms, but we could not pour concrete until the building department signed off.
How the permitting process worked
California has an intensive permitting process, and a shipping container home is no exception.
We began with a professional site survey. The surveyor documented the topography, which helped show how water would drain across the property. The survey also established the property boundaries and required setbacks while researching the site’s recorded history.
Next came the preliminary architectural design. This was where we determined the layout of the rooms, openings, and major features.
The design then went to a structural engineer. The engineer produced structural details and calculations showing that the proposed home would meet applicable code requirements. In our case, the building department allowed either the architect or structural engineer to stamp the drawings.
Finally, we assembled the architectural and engineering work into a set of construction documents. We also had to include the reports, studies, and forms required by San Bernardino County.
The process was both complicated and expensive. It was not always linear, either. A decision made during one stage could require us to return to an earlier consultant and have a drawing or document revised.
Pouring the concrete foundations
Once the permits were approved, it was finally time to pour concrete.
The project had three separate slabs. A concrete truck could not reach the smallest one, so we used a concrete pump to move the material from the truck, through a hose, and into the forms.
The crew arrived several hours before the first delivery to inspect the forms and wet them down. Once the first truck reached the pump, it began releasing concrete into the hopper.
Concrete day was exciting, but it was also stressful. All of the trucks had to be scheduled in advance, and they arrived approximately 15 minutes apart. We had to unload each truck quickly enough to be ready when the next one appeared.
As the concrete level rose, crew members used shovels to fill gaps along the outside of the forms with dirt and rocks. Gray PVC conduits extended through the slabs so we could later run electrical lines between the containers.
The containers would cover most of the slab surfaces, but we still smoothed the concrete. The remaining slabs were easier to access, so the trucks could back directly up to the forms and discharge through their chutes.
In total, the foundations required approximately 45 cubic yards of concrete, delivered in about six trucks.
After the pour, the crew finished the upper surfaces and added control joints. These planned grooves give the concrete room to expand and contract, helping manage where cracks are likely to form.
We also used plywood boxes to leave openings around the future toilet drains. Those openings gave us a little extra room to align the plumbing later. Finally, an edging tool was used to round the slab edges.
Why I chose a slab-on-grade foundation
One of the most common questions I received was why I used so much concrete for structures that were already self-supporting.
A slab-on-grade foundation was not my first choice.
I initially considered concrete piers topped with steel beams. My idea was to level the beams on-site and weld the containers to them. I sketched the concept and sent it to the structural engineers.
The engineers were concerned about lateral support. In California, a foundation must account not only for the vertical weight of the building but also for the lateral forces created by seismic activity.
We developed a second version that connected the footings beneath the concrete columns to form a structural ring. That would have increased the foundation’s strength and stability.
Then the building department explained that the space beneath the containers would likely be classified as a crawl space. If so, there would need to be at least 18 inches between the bottom of the containers and the finished soil.
Because shipping container floors are already fairly thick, the finished interior floor could have ended up two to two-and-a-half feet above the ground. Any exterior decks or stairs would then require railings, potentially blocking the surrounding views.
The supposedly simple pier foundation had become more complicated. It needed additional seismic support, and it would raise the home much higher than I wanted. I decided to abandon that concept and investigate monolithic concrete foundations instead.
I next asked whether we could pour only a perimeter grade beam. After all, a container primarily bears on its edges and corners. The engineers calculated that option too, but without the lateral support provided by the slab surface, the perimeter beam would have to be quite substantial.
In the end, the grade-beam design did not save much concrete. The estimated material difference was only about $100 per slab, so pouring the entire slab made more sense.
That does not mean slab-on-grade is the ideal foundation for every shipping container home. Other systems may work better in different soils, climates, jurisdictions, and designs. For this property, this building department, and the engineering options available to us, a monolithic slab offered the best overall compromise.
My architecture firm was based in Boston, where we were accustomed to basements and foundations extending below the frost line. Southern California’s climate made frost depth far less of a concern, which helped keep these slabs comparatively simple and affordable.
The biggest lesson from this stage
Construction decisions can look arbitrary when you only see the finished project. I do the same thing when I look at a building and wonder why someone chose a particular detail.
But there are usually constraints that a photograph cannot show. Local codes, engineering requirements, soil conditions, costs, access, climate, and even the surrounding view can influence what ultimately gets built.
The slab foundation was not the solution I imagined at the beginning. It was the solution that remained after we worked through the real conditions of the property and the permitting process.
The next stage of the project involved renting a crane, placing the containers on the completed foundations, and cutting the openings for the windows and doors.
Before designing or building a shipping container home, consult your local building department and qualified design professionals. Requirements vary by location, and this article describes one project in San Bernardino County, California.
No comment yet, add your voice below!