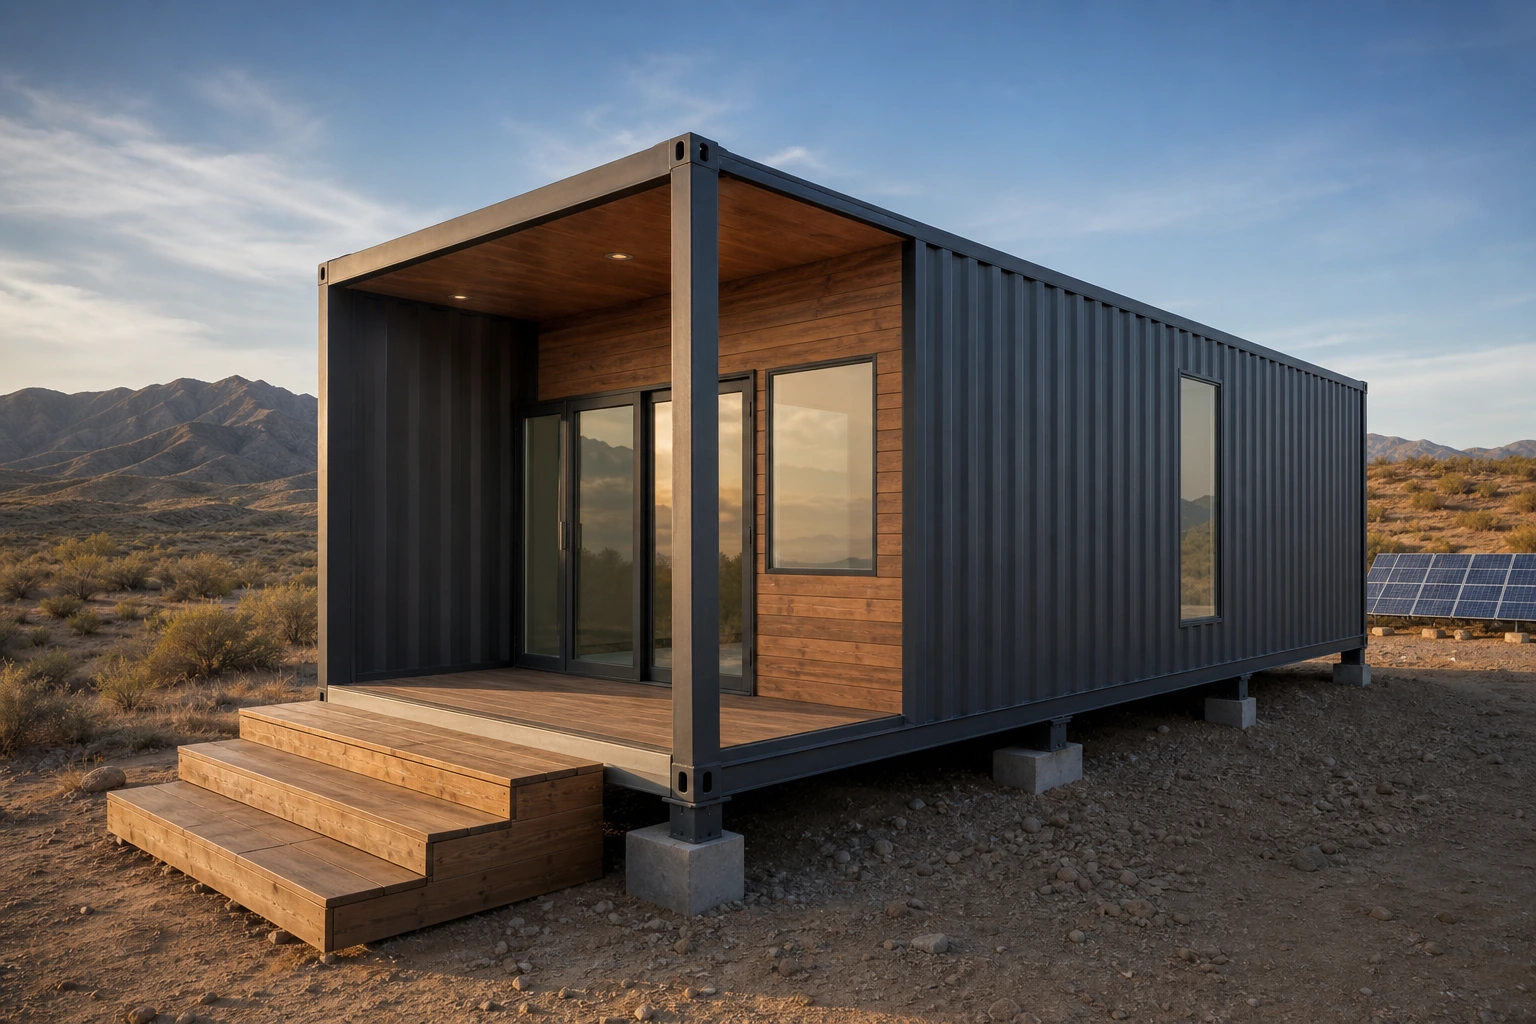
A shipping container can become much more than a storage box. With careful planning, metal fabrication, insulation and interior finishing, it can also become a compact off-grid cabin.
In the video “Shipping Container Cabin: Full Build in 9 Days (Solo)”, one builder documents the complete process of transforming a single container into a movable hunting cabin. The work included salvaged doors and windows, custom-welded steel frames, a small rooftop deck, a removable staircase, spray foam insulation, electrical service and a plywood interior.
The entire build was completed in nine days, with approximately $5,500 spent on the container, insulation, steel and building materials.
Here is how the project came together.
Project note: This article describes one builder’s personal project and methods. Shipping container modifications may require engineering, permits and specialized welding, electrical or construction work. Requirements vary by location and intended use.
Planning the cabin before the container arrived
The work started before the builder had the shipping container on site.
He had already been salvaging doors and windows and knew which ones he wanted to use. More importantly, he had decided where the openings would go and calculated the steel he would need to fabricate the door and window frames.
That advance planning allowed the build to move quickly once the container arrived. Instead of choosing windows and working out their placement during construction, the major decisions had already been made.
This is especially important with a shipping container. Cutting an opening is permanent, and every door or window needs to work with the corrugated steel walls and the cabin’s planned interior.
Tools used for the steel fabrication
The main metalworking tools used during the build were an Evolution chop saw and a Harbor Freight welder.
The welder was set to gasless MIG. That meant the builder did not need to drag a separate gas bottle around the work area or onto the roof of the container. For a project that required frequent movement around and on top of the box, the portable setup was helpful.
The container itself came from a yard the builder had used before. Rather than selecting each box personally, he generally trusted the yard to choose one for him.
This particular unit was a ZIM container. ZIM is an Israeli shipping company, and its name comes from a Hebrew word associated with a fleet of ships.
Fabricating the door and window frames
The builder began with the door frame.
He wanted the edges of the frame to land on matching parts of the container’s corrugated wall. When one edge was positioned on an inside flat section of the steel, he aligned the opposite edge with another inside flat section.
He used the same general process for the windows:
- The completed steel frame was tack-welded to the outside of the container.
- Its location and appearance were checked before any permanent cuts were made.
- The outline of the frame was traced onto the container wall.
- A thin strip of steel was welded along the cut line.
- That strip served as a guide for making a straight cut through the corrugated wall.
Tack-welding the frames in place first allowed the builder to see exactly where each opening would be and make sure he liked the placement before cutting into the container.
Adding a smaller rooftop deck
On previous container cabins, the builder had constructed full decks across the roofs. He found that those larger decks provided more space than he actually needed.
For this cabin, he scaled the design down to a simple 4-by-8-foot rooftop deck.
The smaller deck still created an elevated outdoor area without requiring the material and labor of covering the entire container roof. Because the cabin would eventually be transported to another property, most of the deck was left unfinished until the container reached its final location.
That decision reduced the amount of finished exterior construction that could be damaged or interfere with transportation.
Building a removable steel staircase
The builder had been constructing the cabins near his house and later moving them to small hunting properties he had purchased.
Because this cabin would also be moved, he initially did not plan to build a permanent staircase. However, a delayed lumber delivery left him with half a day available, so he fabricated one from steel.
The staircase was only tack-welded to the container during the initial build. That would allow it to be removed before transportation and welded on permanently after the cabin arrived at its final site.
It was a practical example of designing around the move rather than treating transportation as an afterthought.
Framing the container interior
Once the lumber delivery arrived, the builder framed the interior directly inside the container.
He described the method as a “run-and-gun style of framing.” Instead of assembling conventional wall sections and lifting them into position, the framing was built in place and toenail-fastened together.
The builder acknowledged that this loose framing method would not be structurally sound on its own. In this project, the spray foam insulation was intended to act like an adhesive, locking the framing together after it was installed.
This approach reflected the speed and particular circumstances of this build. It should not be treated as a substitute for plans prepared or reviewed for a project’s actual structural and code requirements.
Insulating the cabin with spray foam
After the interior framing was complete, a spray foam crew insulated the inside of the container.
Insulation is a major part of converting a steel box into usable living space. Steel readily transfers outdoor temperatures, and an uninsulated container can become extremely hot or cold depending on the weather.
For this cabin, spray foam filled the spaces around the framing while also helping bind the interior assembly together. The spray foam work cost $1,300.
Preparing the cabin for off-grid power
The finished cabin was intended for an off-grid hunting property.
Rather than relying on a permanent utility connection, the builder installed an exterior plug that would allow the cabin to connect to a generator. He tested the system while the container was still at the original build site and had access to utility power.
The plug-in arrangement gave the cabin a straightforward power source after it was moved, while preserving the option to disconnect the power for transportation or storage.
Finishing the deck over several days
Although the video generally follows the order of the build, some individual jobs were completed in stages and then shown together.
The deck and stair lumber is one example. The builder cut the wood on one day, stained it on another and tested the finished pieces on the roof on a third day.
This did not change the nine-day build timeline, but it showed how several tasks were layered together. While one component dried or another material was delayed, work could continue elsewhere on the cabin.
Using plywood as a blank canvas
The cabin’s interior was finished with plywood rather than a fully decorated wall system.
The builder treated the plywood as a blank canvas. It could be painted, stained or covered with wallpaper later. A spare piece of wallpaper was tested during the build, but the final decorative direction was intentionally left open.
That flexibility made sense for a cabin that still needed to be transported and set up on its hunting property. The essential construction could be finished first, with cosmetic decisions made after the move.
How much did the shipping container cabin cost?
The builder provided a short cost breakdown while showing the finished cabin.
Expense | Cost |
Shipping container, including tax and delivery | $2,100 |
Spray foam insulation | $1,300 |
Steel | $300 |
Home Depot materials | Approximately $1,800 |
Stated project total | Approximately $5,500 |
The container itself represented less than half of the stated project cost. Insulation and the additional construction materials together accounted for a larger share of the budget.
The $5,500 figure should also be understood in the context of this particular build. The builder completed the labor himself and used salvaged doors and windows. The stated breakdown did not assign a cost to his labor or the reused materials. It also did not include the upcoming land clearing, transportation to the hunting property or final site setup.
What made the nine-day build possible?
Several decisions helped the project move quickly:
- The doors and windows were selected before the container arrived.
- The builder already knew where the openings would be positioned.
- The steel requirements were planned in advance.
- Door and window frames were fabricated and test-positioned before cutting.
- The interior framing was constructed directly inside the box.
- Professional spray foam installers handled the insulation.
- Several tasks were completed in stages while other work continued.
- The deck and staircase were designed around the cabin’s future move.
- Decorative interior decisions were postponed until after the main build.
The nine-day schedule did not come from rushing into the project without a plan. Much of the speed came from making decisions before the container arrived and keeping the first phase focused on the essential work.
The cabin was built to move
One of the most interesting parts of the project was that the cabin was not being built at its permanent location.
The removable staircase, unfinished deck details and generator connection were all influenced by the plan to transport the container to a hunting property. Each feature had to work during the initial build and still make sense after the move.
The next stage of the project would involve clearing land, transporting the completed cabin and setting it up at its final off-grid site.
Starting with the right shipping container
This build shows how much can be created from a single shipping container. It also shows why the container itself is only the beginning of the project.
Before cutting steel, a builder needs to think through the doors, windows, insulation, utilities, transportation and final site. A box that fits the intended use, budget and delivery requirements provides the foundation for everything that follows.
Quality Containers can help customers find a shipping container suited to a cabin, workshop, storage building or other project and arrange delivery to the site.
No comment yet, add your voice below!