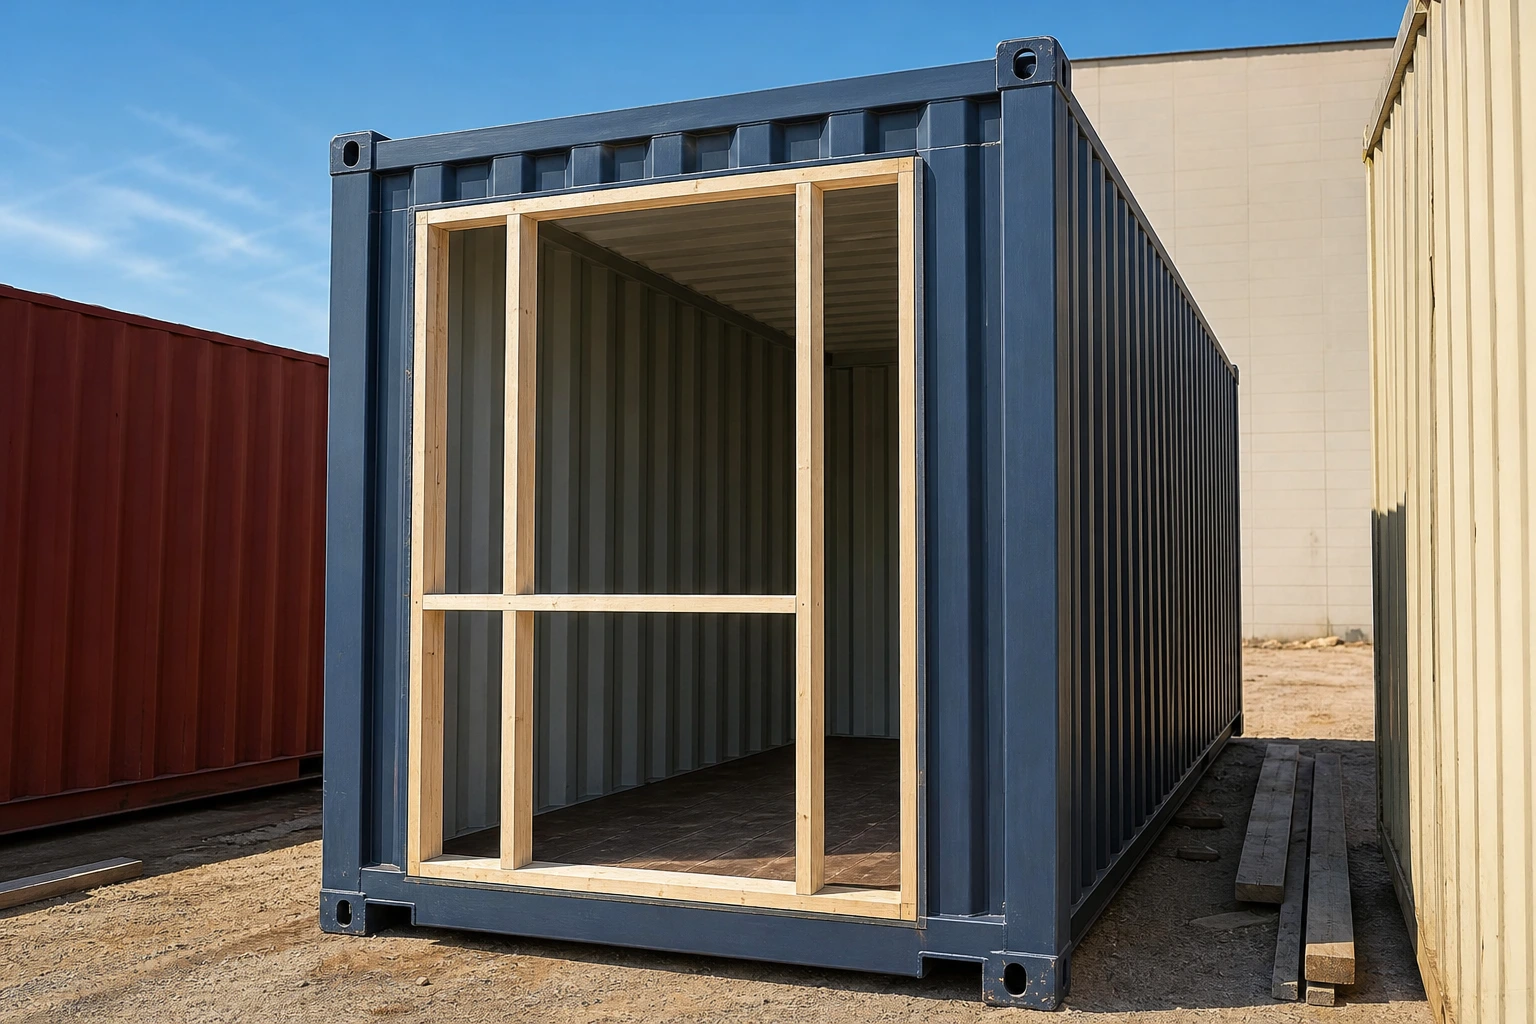
Adding a window, door, vent, or utility opening to a shipping container may look straightforward. Cut the steel, weld in a frame, and install the new component. But the way that opening is framed can determine whether the finished container stays dry and insulated or develops rust, condensation, and mold.
Why ordinary steel tubing can cause problems
A common method is to frame a new opening with hollow structural steel, also called HSS. Although this creates a strong frame, it can also create a thermal bridge between the exterior and interior of the container.
Steel transfers heat and cold very efficiently. If hollow steel tubing runs from the outside of the container to the finished interior wall, cold exterior temperatures can travel through that steel. The interior surface may become cold enough to frost or collect condensation.
That moisture can then reach nearby wood framing, insulation, or wall coverings. Over time, the result may be:
- Wet or damaged insulation
- Mold inside the wall assembly
- Rotting wood studs
- Rust and corrosion
- Reduced energy efficiency
- Poor indoor air quality
The opening may look perfectly finished from the outside while moisture is quietly accumulating inside the wall.
A better frame creates a thermal break
Container Guy’s preferred system uses folded metal profiles instead of a hollow steel tube surrounding the entire opening. The header and footer include a rain-drip profile, while the side pieces use a folded Z-shaped profile.
This approach allows spray foam insulation to extend behind and around the frame. The foam creates a more continuous insulation layer and vapor barrier, reducing the path through which exterior temperatures can reach the interior wall.
The finished system provides several benefits:
- Less exposed steel on the interior
- A more complete thermal break
- Better access for spray foam insulation
- A continuous vapor barrier around the opening
- Improved resistance to water intrusion
- Less risk of condensation and mold
The frame dimensions must follow the container’s corrugations. That can limit the exact placement of an opening by several inches, but aligning the frame with the corrugations helps create a cleaner, more watertight installation.
Avoid unnecessary welding on the container
Welding directly to a shipping container burns through its protective paint. Any area where the coating has been damaged becomes more vulnerable to premature rust and corrosion.
Container Guy shows a frame secured with fasteners along the header, footer, and sides. Because the interior coating was not burned away, the installation reduces the number of exposed areas that must be repaired and protected.
This does not mean welding should never be used. Some structural modifications require it. The important point is that every weld affects the container’s protective finish and must be treated correctly afterward.
If steel is welded to the roof, walls, or frame, the affected surfaces should be cleaned, primed, sealed, and painted with products designed for metal. Leaving burned paint or bare steel untreated invites corrosion.
A simpler frame using angle iron and flat bar
Not every fabricator has 3D modeling software, a laser cutter, or a press brake. For qualified welders, a functional window frame can also be made from angle iron and flat bar.
In the example shown in the video, the main frame uses 2-by-2.5-inch angle iron. The pieces are assembled on a flat workbench and welded together before the container wall is cut.
Accuracy is critical. The frame needs to be flat, square, and correctly sized. If the corners are out of square, a rectangular window may not fit properly. Even a small error can leave you with a parallelogram-shaped opening, cause the window to bind, or prevent the sash from sliding correctly.
Container Guy recommends notching the corner joints instead of relying only on mitered cuts. This moves the weld away from the tight inside corner, making it easier to grind and finish with common tools.
Once the frame is complete, its outside dimensions determine the rough opening that will be cut into the container.
Control heat to prevent warping
Thin container steel can warp when too much welding heat is concentrated in one area. A continuous seam weld may pull the frame or surrounding wall out of shape. If the opening becomes twisted, the installed window can also be torqued, preventing a vinyl slider from operating properly.
Depending on the design, a fabricator may use carefully spaced stitch welds and seal the assembly with spray foam and an appropriate exterior sealant. If a continuous weld is required, the welder must distribute the heat and allow sections to cool rather than completing one long weld in a single pass.
This part of the project requires real welding experience. A container wall is much less forgiving than a thick structural steel assembly.
Paint before applying silicone or sealant
The order of operations matters. Complete the metalwork, prepare the surface, and apply the required primer and paint before using silicone or another sealant.
Most paint will not adhere properly to cured silicone. Applying silicone first can leave unpainted seams, poor adhesion, and a messy finished edge.
A better sequence is:
- Build and test-fit the metal frame.
- Mark and cut the rough opening.
- Attach the frame while controlling welding heat.
- Clean and prepare all bare or heat-damaged steel.
- Prime and paint the metal.
- Apply the specified sealant.
- Install the window or door.
- Complete the insulation and interior vapor barrier.
Always follow the window manufacturer’s flashing, fastening, and sealant requirements as well.
Install vinyl windows after the welding is finished
Never install a vinyl window before welding the surrounding frame into the container. Welding heat can melt, distort, or permanently damage the vinyl.
In the angle-iron system shown in the video, the window is installed after the steel frame is secure and finished. Flat bars and self-tapping screws clamp the window’s one-inch nailing flange from the inside. Spray foam can then reach the perimeter of the vinyl frame to help complete the insulation and vapor barrier.
The exact attachment method will depend on the window, climate, wall system, and engineered design. The main lesson is simple: finish all hot work before bringing heat-sensitive window components into the opening.
Is this really a DIY project?
The angle-iron method uses common materials, but that does not make it a beginner project. Container Guy explains that this type of frame is best suited to an experienced tradesperson with welding and fabrication skills.
The work involves:
- Measuring and laying out an exact opening
- Cutting corrugated steel safely
- Fabricating a square steel frame
- Controlling weld heat and distortion
- Restoring corrosion protection
- Sealing against wind-driven rain
- Managing insulation and condensation
- Avoiding damage to the container’s structure
For the average owner with an angle grinder, drill, and general hand tools, a prefabricated no-weld framing kit may be the safer and more practical option. These systems typically require cutting the opening and fastening the assembled frame with rivets or other specified fasteners.
Before cutting any container, confirm whether the proposed opening requires engineering, reinforcement, permits, or code approval. Large openings and modifications near structural members can affect the container’s strength.
The opening is part of the entire wall system
Good container modification is not just about making a steel frame strong enough to hold a window. The frame must work with the exterior coating, drainage plane, insulation, vapor control, interior finish, and the container’s structure.
A poorly planned frame can become the coldest and wettest part of the wall. A properly designed opening helps keep water outside, limits thermal transfer, and allows insulation to form a continuous barrier around the window or door.
Before your next container modification, think beyond the visible frame. Plan how water will drain, how bare steel will be protected, where the insulation will go, and how the vapor barrier will remain continuous. Those details are what separate a quick modification from one built to perform for years.
Watch How To Frame Openings On Shipping Containers | DIY Method from Container Guy for the complete visual demonstration.
Need a container for your next project?
Quality Containers can help you find the right shipping container for storage, construction, or a custom conversion. Contact our team to discuss container sizes, conditions, availability, and modification options for your project.
Safety note: Cutting and welding shipping containers can cause serious injury, fire, toxic-fume exposure, and structural damage. This article is educational and is not a substitute for engineered plans, local code review, manufacturer instructions, or work performed by qualified tradespeople.
No comment yet, add your voice below!